 Storeino
Installation
Themes CLI
When utilizing Storeino Themes CLI for theme installation, follow these steps :
1- Initiate the Themes CLI by running the command :
npx @storeino/themes-cli2- A prompt will surface, offering you a choice between crafting a fresh theme or modifying an existing one. Make your selection :
? What theme do you want to generate? (Use arrow keys)
> Build a new theme
  Customize a theme
3- Proceed by inputting your preferred theme name :
? Theme name: <theme-name>4- Complete the setup by following these steps to install packages and run your project:
To get started:
        cd my-theme
        npm install
        npm run dev
To build & start for production:
        cd my-theme
        npm install
        npm run build
        npm run start
To begin :
Navigate to your theme directory. For example: cd my-theme.
Install necessary packages by executing: npm install.
For development readiness :
- Launch your project in development mode by running: npm run dev.
For production readiness :
Compile your project using: npm run build.
Initiate your production environment by starting with: ** npm run start**.
These steps will provide you with a clear pathway to effectively install your themes using Storeino Themes CLI.
Create Store
Embark on your eCommerce journey by crafting your very own online store. Here's how:
Visit https://storeino.world to initiate the store creation process.
After you've successfully created your store, effortlessly navigate to your dedicated dashboard at https://admin.storeino.world/stores. Here, a realm of limitless possibilities awaits, offering you the tools to meticulously fine-tune, adeptly manage, and masterfully curate your online retail haven.
Bring your virtual aisles to life by adding captivating collections, intriguing products, engaging posts, and innovative applications.
Elevate your product offerings effortlessly using the Storeilo Chrome extension, which facilitates seamless product imports from AliExpress and Shopify.
Let your entrepreneurial spirit flourish as you mold the foundation of your digital marketplace. Start building today!
Create Theme (If you choose to build a new theme)
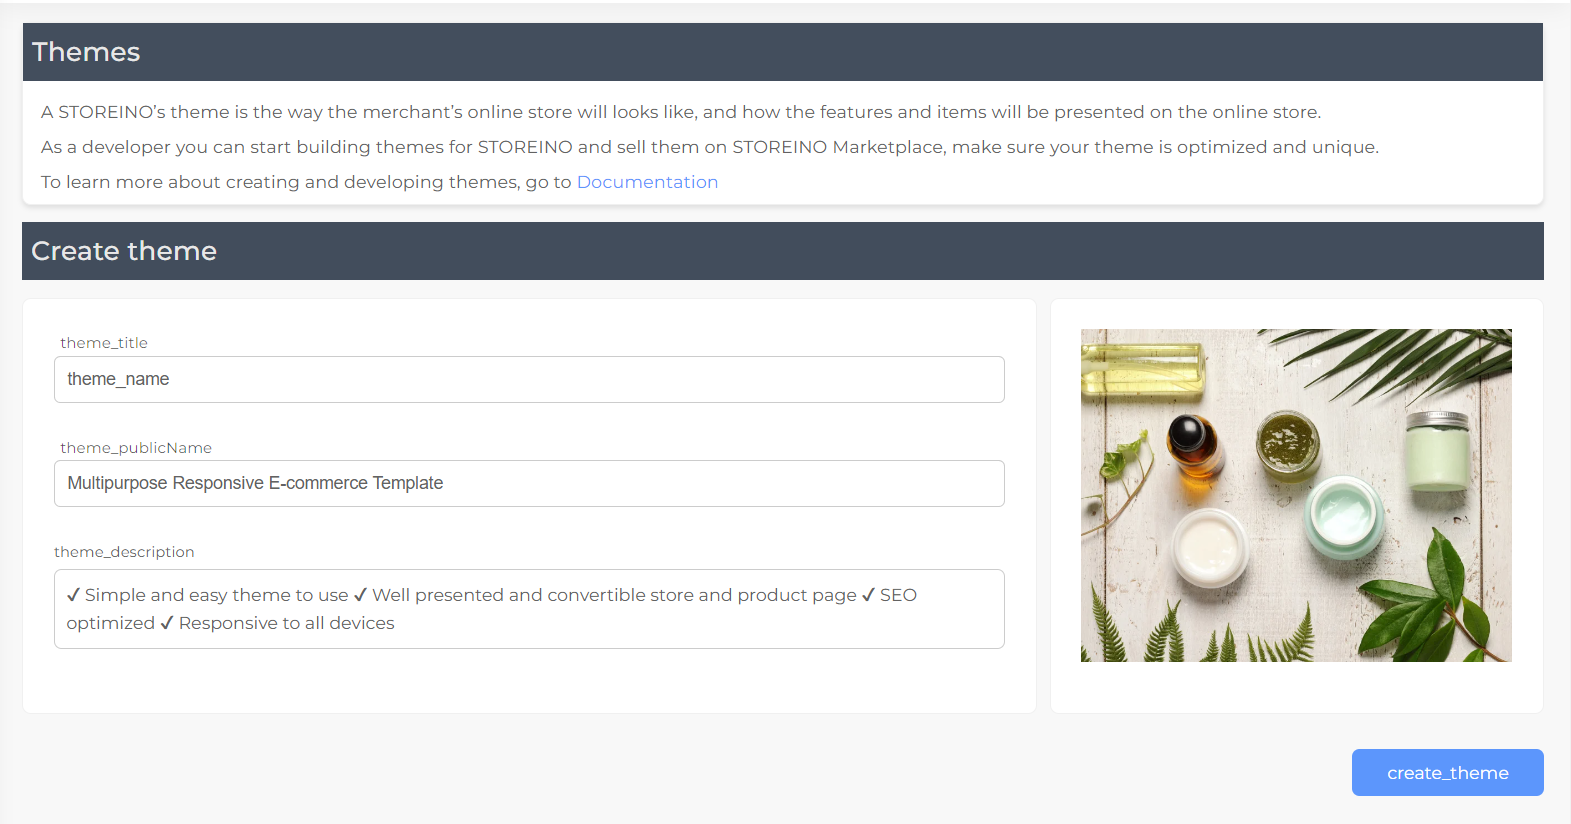
Once you've seamlessly incorporated all the essential details into your store, take the next step by visiting https://admin.storeino.world/stores/development/themes to embark on creating your debut theme. For the moment the necessary parameters to create a theme are : title, public name, description, and image.
Fill the content of these parameters, then click on the create theme button.
By default, the theme will be created with a standard config that you can update later according to your conception.
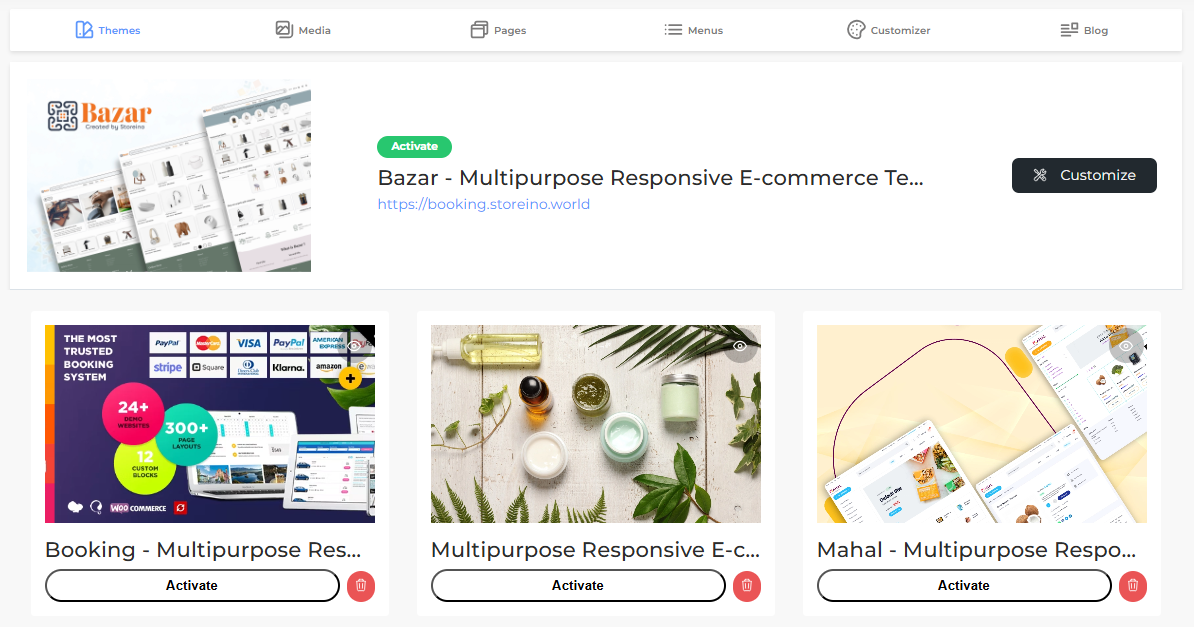
After crafting your theme, proceed to https://admin.storeino.world/stores/themes to activate your theme and breathe life into your digital storefront.
Create Theme (To Customize an Existing Theme)
- Go to the marketplace
- Install the "Marketmall" Theme
- After crafting your theme, proceed to https://admin.storeino.world/stores/themes to activate your theme and breathe life into your digital storefront.
The theme will be created with a standard config that you can update later according to your conception.
How to Activate Your Theme
When you want to activate a theme for your store, follow these simple steps:
Visit the themes page at https://admin.storeino.world/stores/themes
Browse through the variety of available themes displayed on this page
To see more theme options:
- Click the "Explore" button at the bottom of the page, or
- Visit https://market.storeino.world/
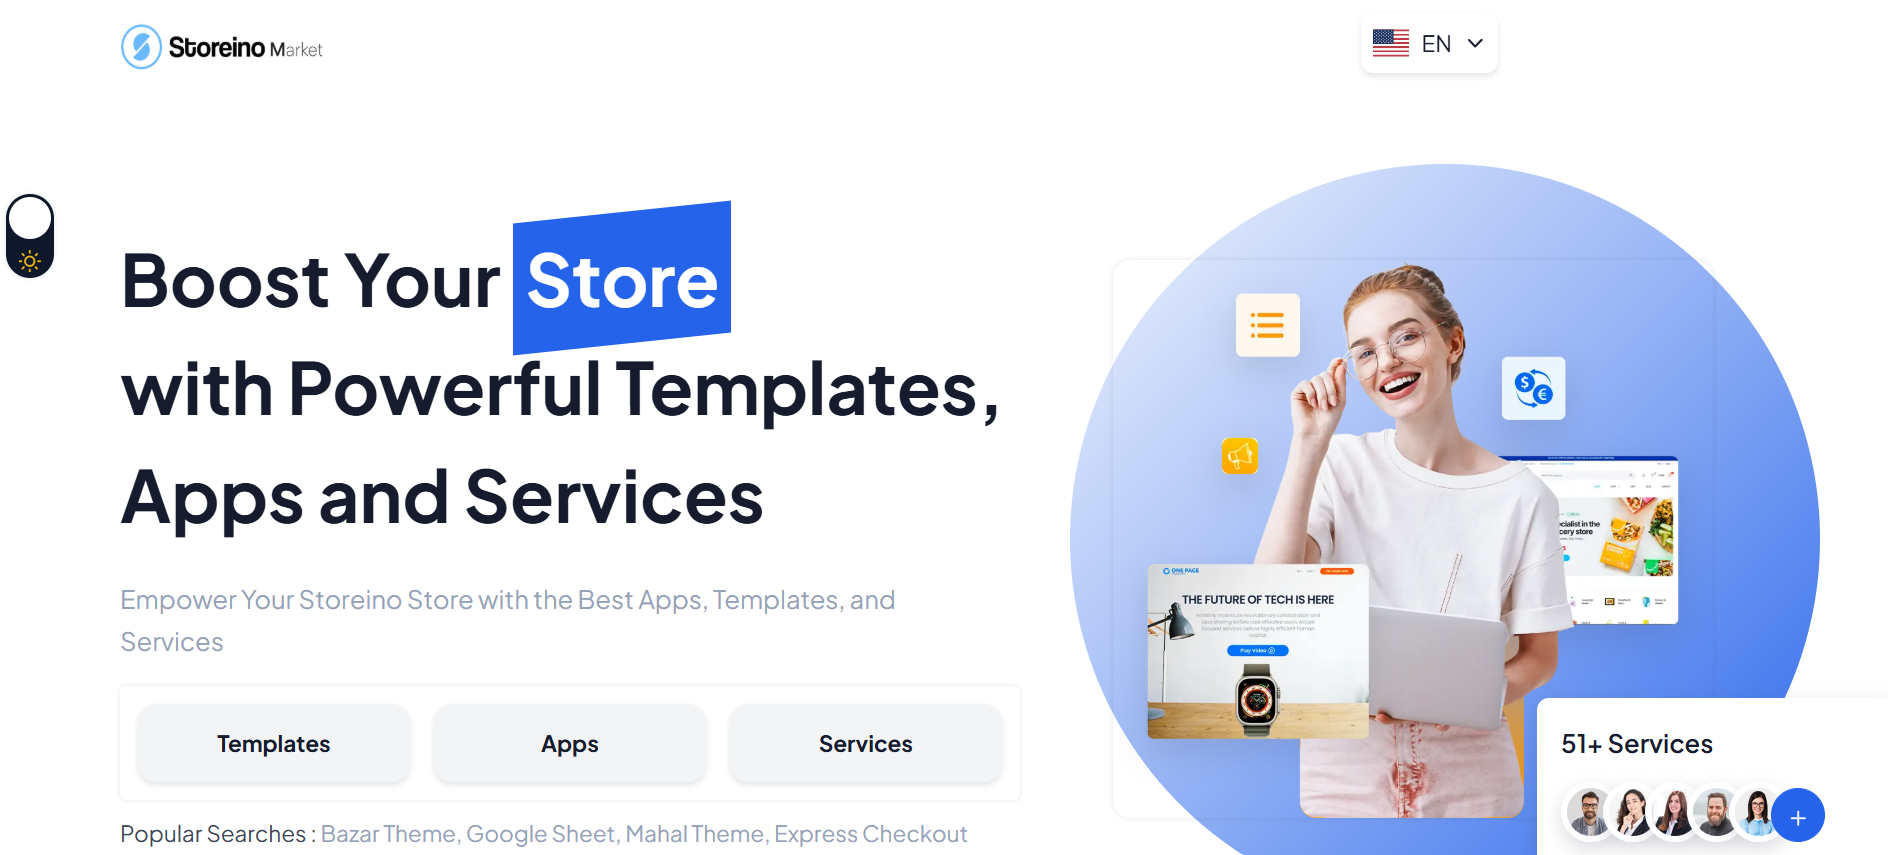
- Once you've found your theme, click the on the "Install" button
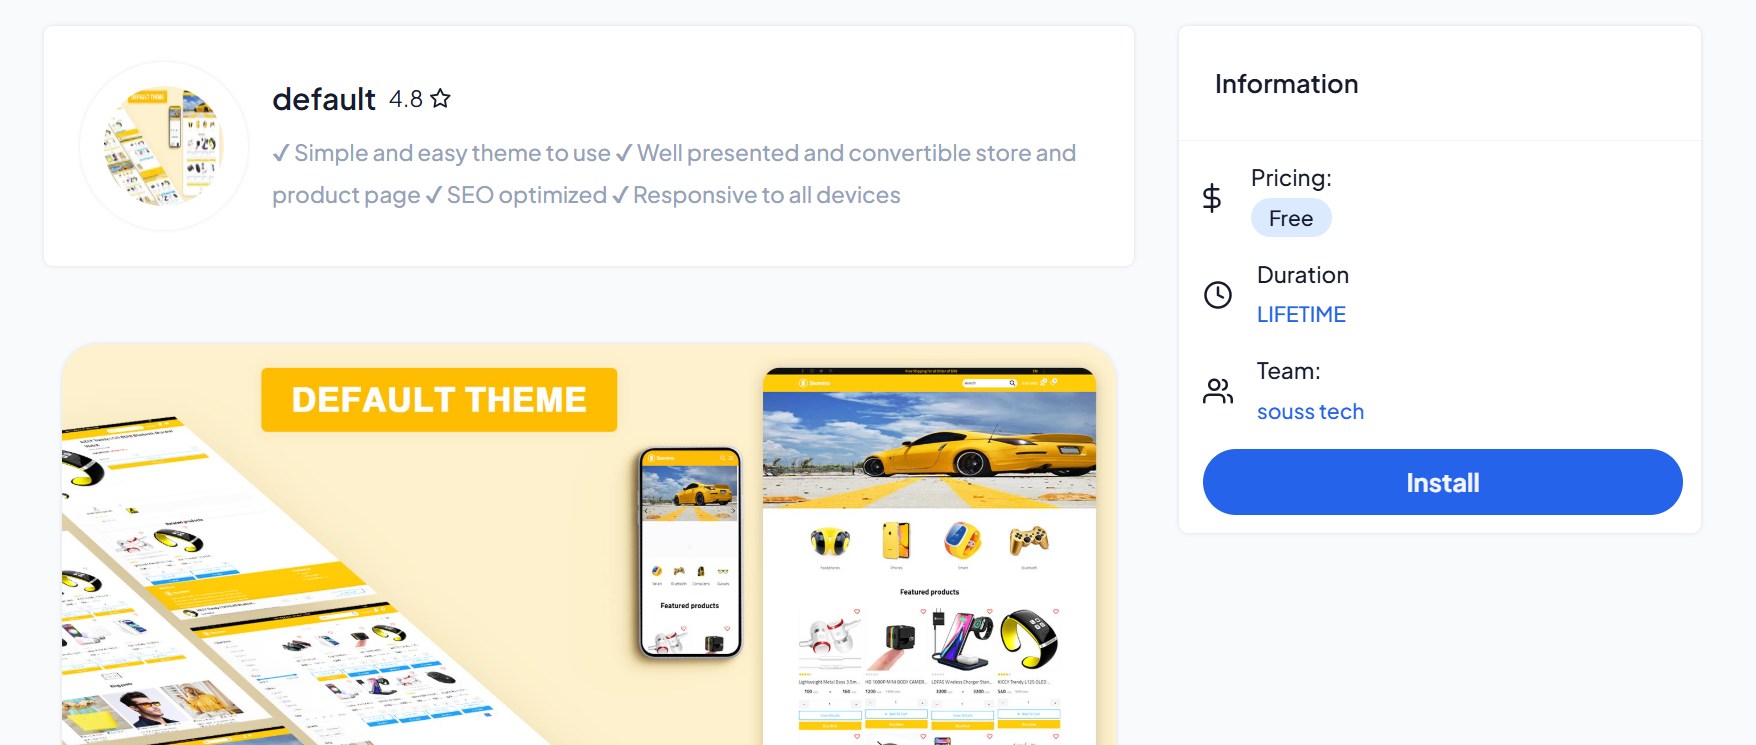
- Select the store you want to apply the theme to from the dropdown menu
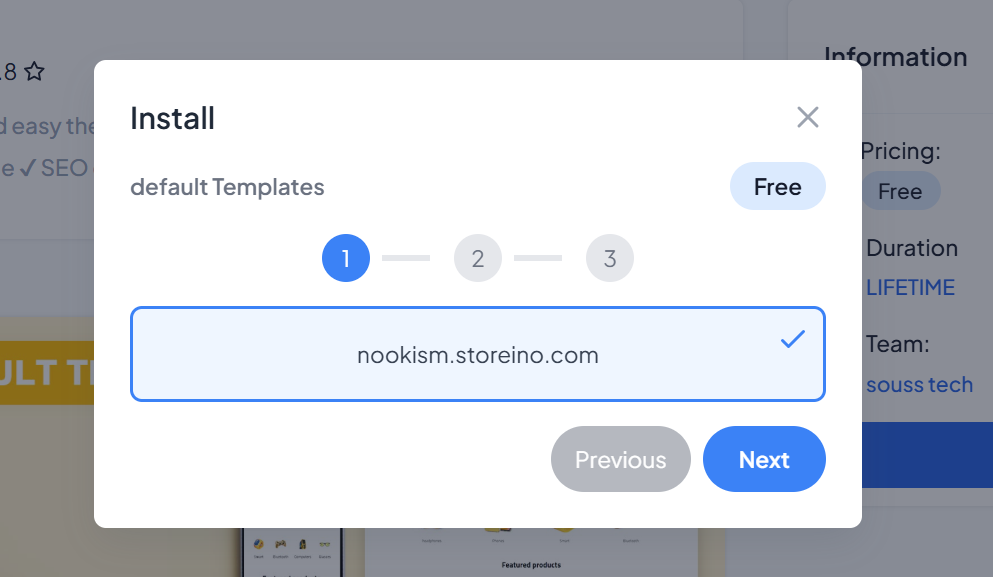
That's it! Your selected theme will now be activated for your store.
Connect Theme
To seamlessly establish a connection between your theme and your store theme, follow these steps:
Visit the following link: https://admin.storeino.world/stores/development.
Obtain your Client ID and Client Secret from the provided page.
Navigate to your project's code directory and locate the "config" folder.
Inside the "config" folder, locate the "development.json" file.
Open the "development.json" file and insert your Client ID and Client Secret in the following format:
{
  "env": "development",
  "token": {
    "clientId": "YOUR_CLIENT_ID",
    "clientSecret": "YOUR_CLIENT_SECRET"
  }
}
By following these steps, you will seamlessly establish the connection between your store theme and project, allowing for smooth integration and interaction.
Setting Your Theme in Development Mode
When working in development mode, you may notice that the default theme displayed at https://admin.storeino.world/stores/themes might be different from your own theme.
To set your own theme as the development theme, modify the name property in your theme's team section to "DEVELOPMENT" as shown below:
@token = YOUR_STORE_TOKEN

// Get Endpoint
GET https://admin.storeino.world/stores/api/themes/search?name=YOUR_THEME_NAME
X-Auth-Token: {{token}}

// POST Endpoint : Change the name attribute
POST https://admin.storeino.world/stores/api/themes/update?name=YOUR_THEME_NAME
Content-Type: application/json
X-Auth-Token: {{token}}

{
    "team": {
        "_id": "6j2137309be89",
        "name": "DEVELOPMENT",
        "url": "https://market.storeino.com/storeino/"
    },
}
How to Apply the Change
You can find and modify this configuration by:
- Get your store Token from Local Storage.
- Navigate to the file.rest in your project structure
- Run the request to the available endpoint to change the theme configuration
Once the request is executed, your theme will be set as the development theme.
Theme Core
The Theme Core serves as a treasure trove of global helpers, poised to elevate your programming endeavors. This indispensable resource comes pre-installed within your project, ready to assist you on your coding odyssey.
Should you find yourself without the Theme Core, or if you're seeking an update, simply execute the following command:
npm i @storeino/template-core-v2Once installed, seamlessly integrate it into your project's nuxt.config.js file using the following code snippet:
import { plugins } from "@storeino/template-core-v2";

export default {
  plugins: [...plugins],
};
By effortlessly harnessing the power of Theme Core, you empower your development process with a suite of tools designed to enhance your coding journey.
Note: By default, the "plugins" and "utils" folders contain the core files. When you clone the project repo, these folders are set up so you can explore the project structure in detail and also allow you to make changes if desired.
If you don't want to make changes, it is recommended to install the @storeino/template-core-v2 directly. This will handle the project code in an independent way and contains the necessary configuration for you to work smoothly.
Additional Configurations
Amidst your project's landscape lie crucial configurations that await your exploration. Each element serves a distinctive purpose, enriching your development journey. Familiarize yourself with the following:
Component Folder :Craft tailored components for your pages within this directory, ensuring a modular and organized structure.Layouts/default.vue :This layout acts as a default template for pages lacking specific layout specifications, ensuring uniformity in presentation.Pages Folder :Discover your project's pages nestled within this directory, allowing for seamless navigation and structured content delivery.Server Folder :Dive into the server directory to encounter a middleware that facilitates the connection between your project and our theme.Static Folder :Encounter static files, including the vital config.json housing theme configurations and translation files, contributing to a dynamic user experience.pluguins Folder :Access a collection of JavaScript plugins that extend functionality across your application, providing reusable features and integrations that can be globally registered.utils Folder :Find utility functions and helper methods in this directory, designed to simplify common tasks and promote code reusability throughout your project.Store Folder :The store directory houses Vuex, enabling you to effortlessly transmit values throughout your project, enhancing interactivity and data management.Nuxt.config.ts :It supersedes default settings, allowing customization to align perfectly with your project's intricacies
By acquainting yourself with these configurations, you unveil the foundational elements that shape your project's functionality and aesthetics. Embrace this knowledge to refine your development process and deliver an exceptional end result.
Start development
As you set forth to create your theme, the journey initiates with the establishment and storage of the project's foundational configuration. This configuration is intricately woven from three essential components: schema, settings, and current.
The development phase encompasses a dual-pronged approach, vital for bringing your theme to life:
Configuration Refinement :The initial configuration structure undergoes updates, ensuring it evolves in tandem with changing needs and aspirations.Theme Development :Capitalizing on the enhanced configuration data, your theme comes to fruition through meticulous coding, infused with innovation and creativity.
Having traversed through these integral stages, you now stand poised to embark on the coding journey. It's time to dive into the realm of code and unleash your creativity. Enjoy this transformative process as you craft a dynamic and captivating Storeino theme.