 Storeino
Getting Started
Apps Structure
A STOREINO App is generally made up of two parts, the admin part and the store part. Admin is the part displayed for administrators to customize the store part to be displayed for customers.
The config field is an JSON object which allows the liaison between the admin part and the store part, then the properties defined in this object will be available in both parts to ensure customization.
Basic Structure
Each admin or store part is made up of three files, Html, Js and Css.
Html File
Is simply an html template that use the STOREINO_App cdn and is linked by js files using app_id.
<div>
  <script src="STOREINO_App cdn -----"></script>
  <meta name="viewport" content="width=device-width, initial-scale=1.0" />
  <div id="app_id">template</div>
</div>
Note that there are two cdns, one for the admin part, and the other for the client part, put everyone in their place.
Js File
Js file is a simple Vue Instance with the basic components, and the "el" point to the id used in html template.
var vm = new StoreinoApp({
  el: "app_id",
  data: {},
  created() {},
  mounted() {},
  methods: {},
  watch: {},
  computed: {},
});
To consume the config object and ensure the data binding between the admin part and the client part, add in data of the vue instance, the __DATA__ property which will point to the configuration structure defined when creating the application.
data: {
  "configData": __DATA__
}
Available Placements
Currently available placements are:
| Placements | |
|---|---|
| BEFORE_TOP_HEADER | AFTER_TOP_HEADER |
| BEFORE_HEADER | AFTER_HEADER |
| BEFORE_HERO | AFTER_HERO |
| BEFORE_FOOTER | AFTER_FOOTER |
| BEFORE_DESCRIPTION | AFTER_DESCRIPTION |
| BEFORE_BUYNOW | AFTER_BUYNOW |
| BEFORE_ADD_TO_CART | AFTER_ADD_TO_CART |
| BEFORE_SHOP_SIDEBAR |
Translate
To ensure internalization, we add a JSON file named translate and contains the translation of the static words used in the apps in different languages. Currently the supported languages are English, French and Arabic.
The structure of this file is shown in the following figure:
{
  "EN": {
    "letsGo": "Let's Go !"
  },
  "FR": {
    "letsGo": "Allons-y !"
  },
  "AR": {
    "letsGo": "! لننطلق"
  }
}
Then in Html file, use the following syntax to display the suitable expression according to the language activated in the theme:
<span>{{'letsGo'|t}}</span>Config File
Depending on the use case or idea you're working on, some apps might only require an admin folder (like apps dedicated solely to merchants for productivity purposes). However, in any case, both the admin and store folders should each contain HTML, CSS, JS, and translate.json files.
Your project root folder should also include a config.json file which contains the config data that establishes the connection between the store and admin folders. If your project only uses an admin folder, the config.json file might remain empty.
So in short, the main project structure might manifest like so:
project-root/
├── admin/
│   ├── index.html
│   ├── style.css
│   ├── script.js
│   └── translate.json
├── store/  (optional depending on use case)
│   ├── index.html
│   ├── style.css
│   ├── script.js
│   └── translate.json
└── config.json
Deployment
Creating a New App
To publish a new App for clients:
Go to https://admin.storeino.world/markets/applications/create
Complete the App information form with all required details
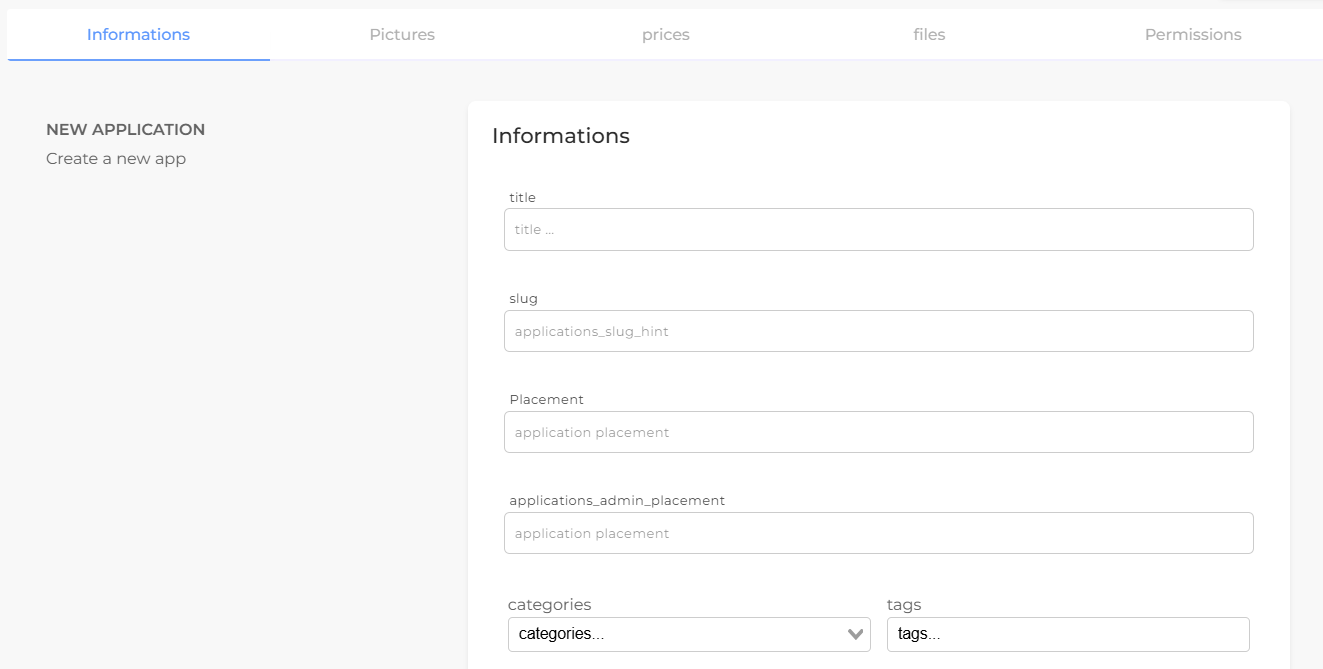
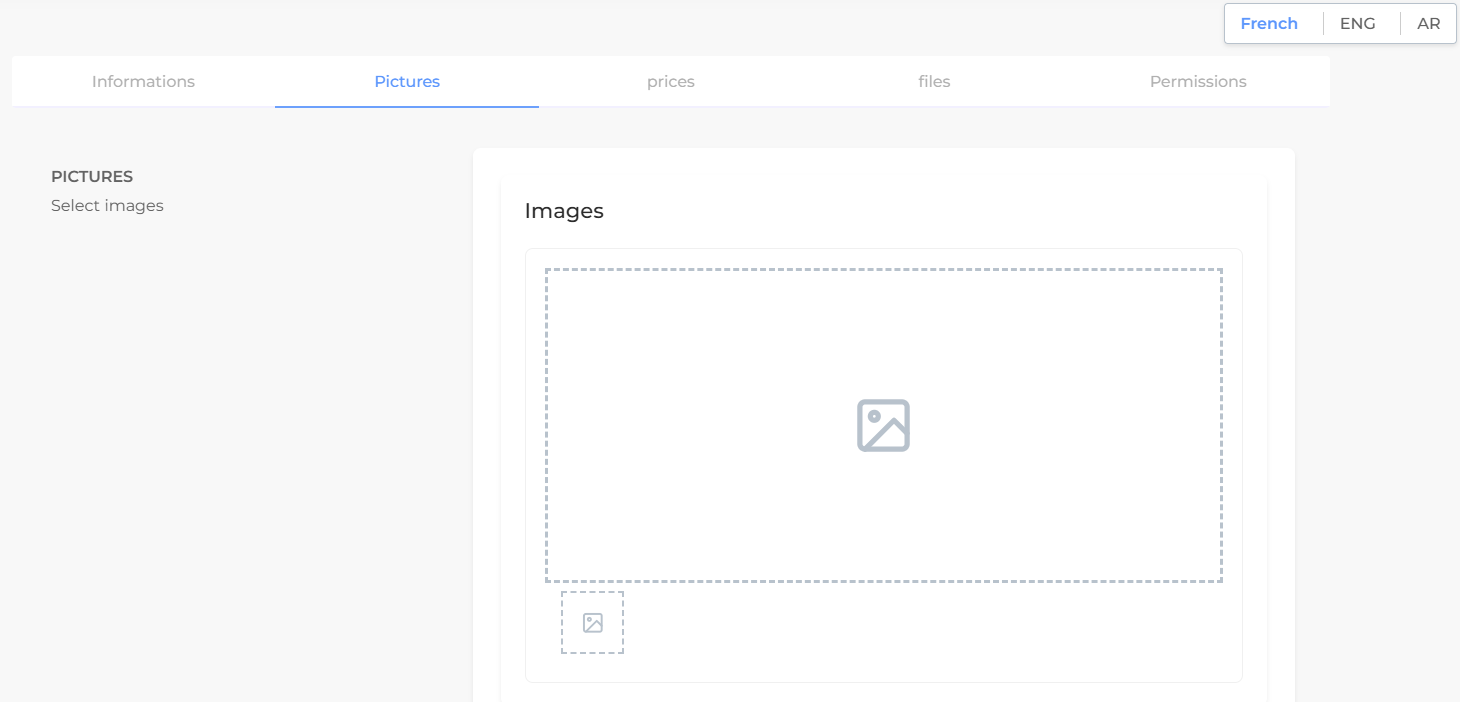
- Upload your project's mockups and set a description for it.
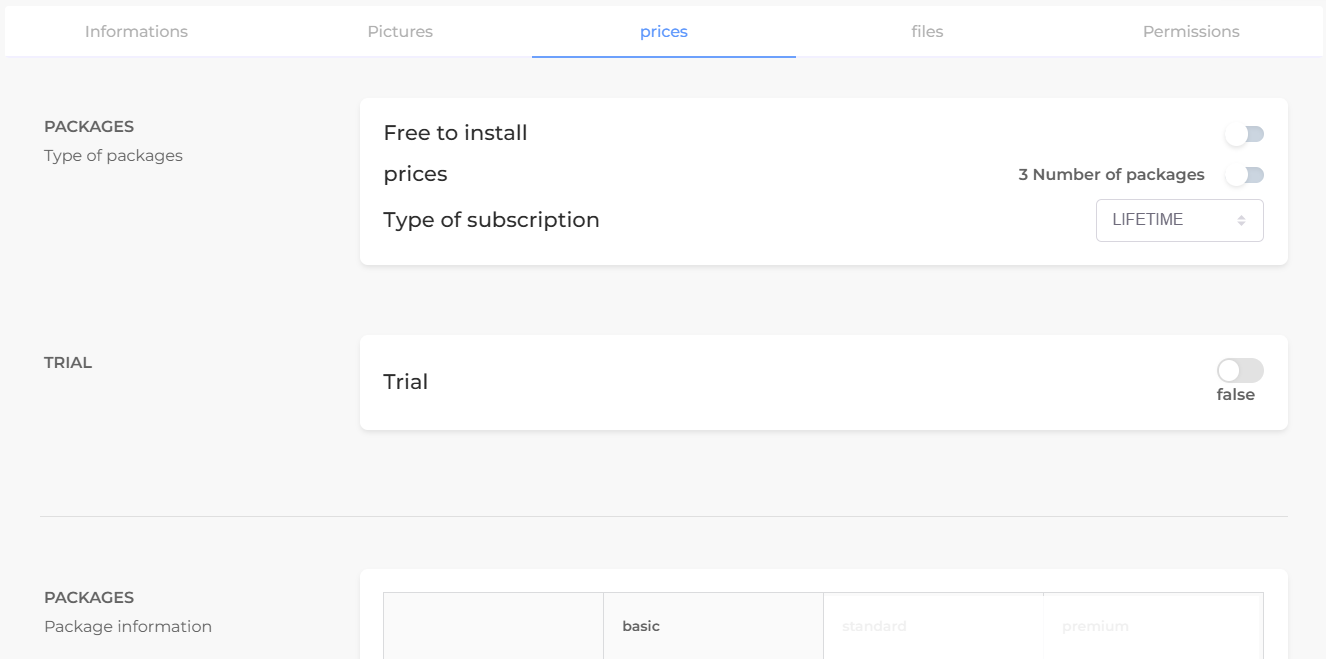
- Set your app's availability and pricing options
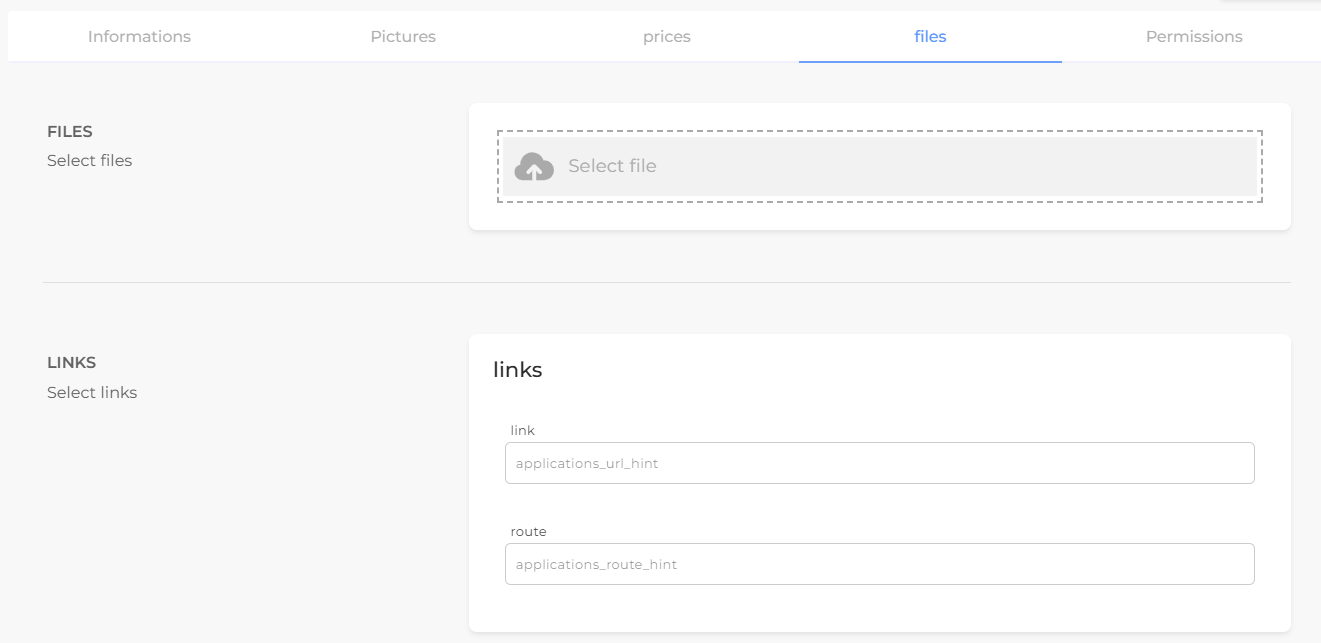
- Upload your complete project files in .zip format, and specify your app's URL route using your app name (for example, "expresscheckout" or "stickycart")
- Set Permissions if any, and then click "CONFIRM" to deploy your app in Development mode